Create custom Next.js open graph images with GenerateBanners
After reading this article, you will know how to integrate GenerateBanners with Next.js to create unique open graph images.
What is an Open Graph image?
The looks of your site on social media depends on a standard called the Open Graph Protocol (ogp.me). When you add the right HTML tags to your website, it will show an image that will help users understand what is behind the link they are seeing.
Step 1: Setup your template in GenerateBanners
You can create customized templates to match the style of your site as closely as possible. In this tutorial, we're going to start from a simple existing template to get the final result faster.

Go to https://www.generatebanners.com/template/ckskisygt003611ky6d330p11/cla0vzcj40962j2oq8efo6yzu and click "Use this template". If you were not logged in, enter your email and click on the link from the email we've sent, you can then click on "Use this template" again.
You will land in the GenerateBanners editor, the place where you can create and customize templates. Click on the "reallynicesite.com" text and change it to your website url. Click Save. Click on "Exit" to go to the template "Form view" to test it.
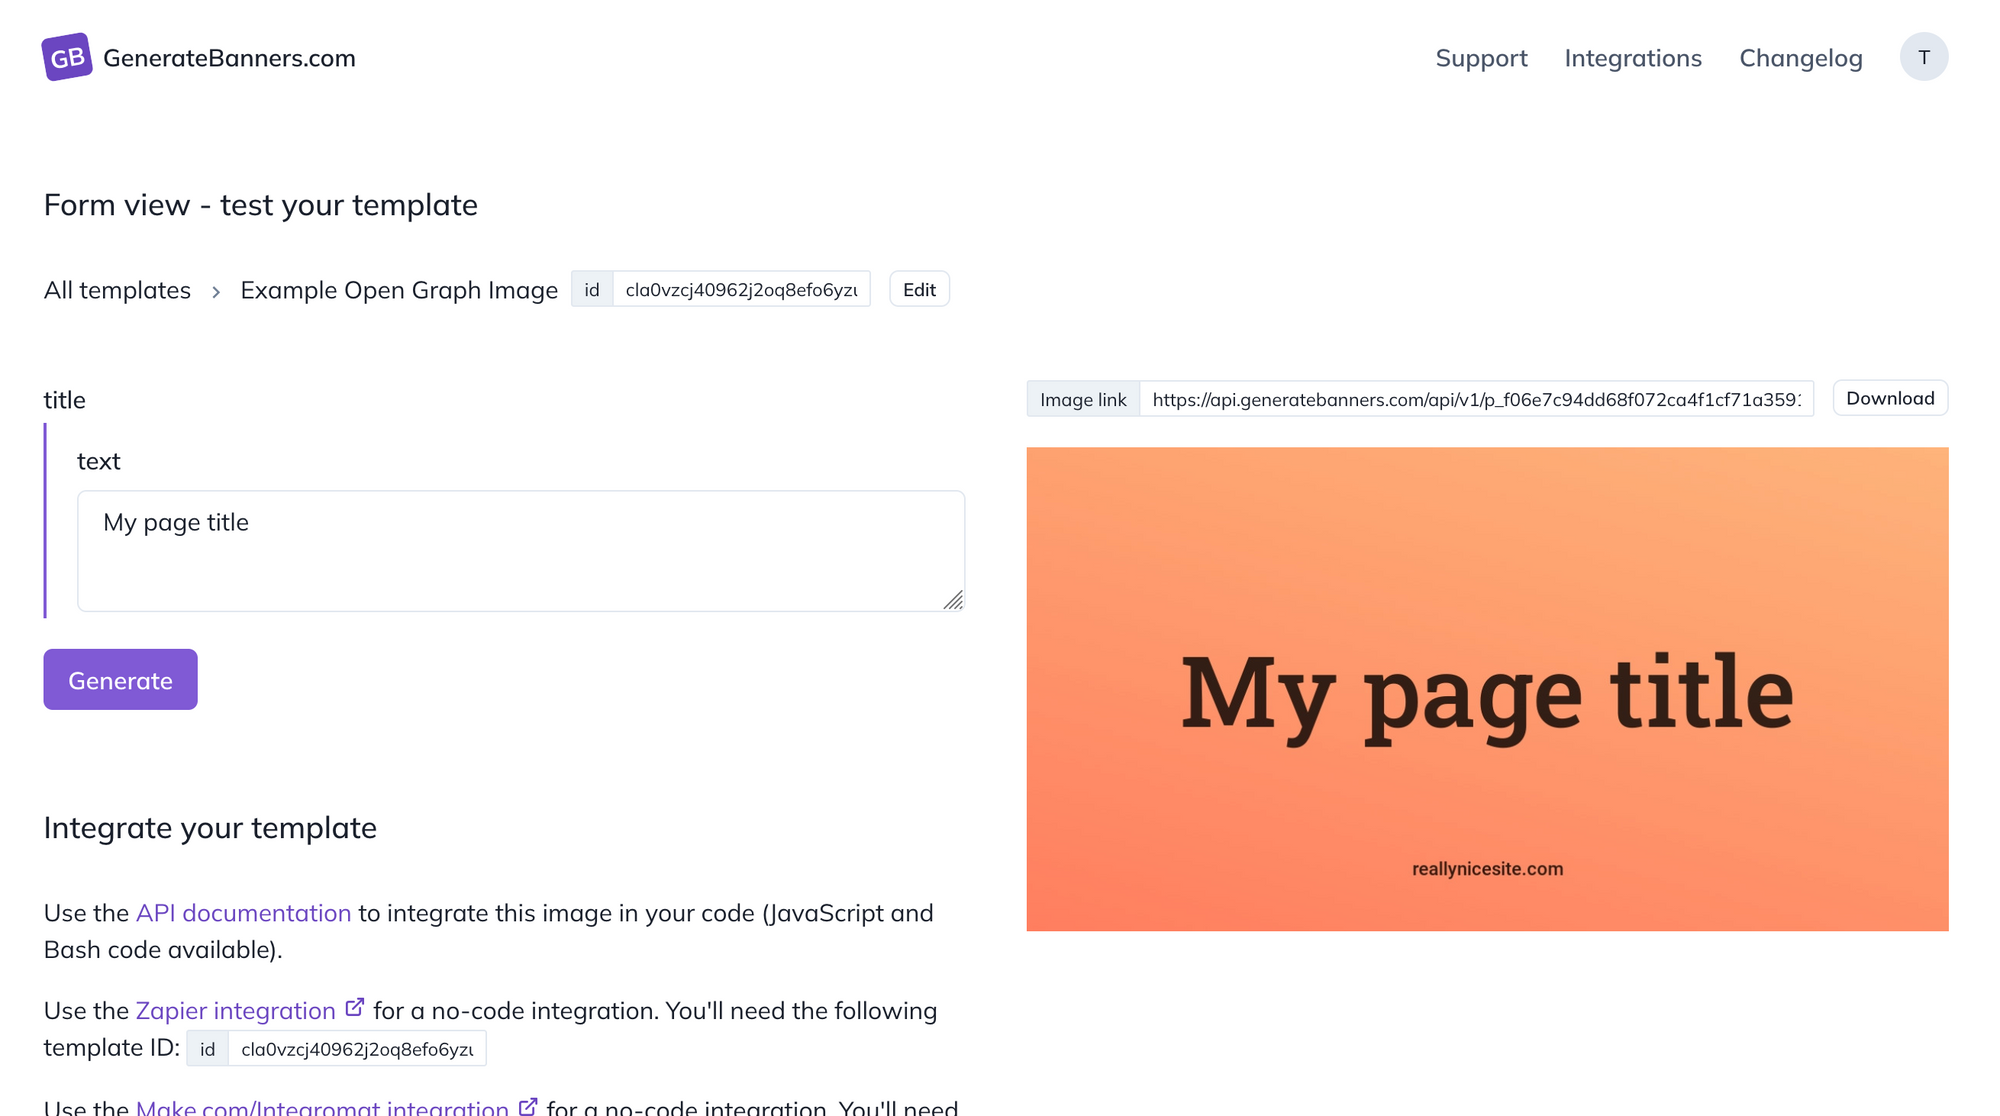
Once you are in the form view, change the text "My page title" to anything else and press "Generate" to see a new image on the right. This is an easy way to preview the results before doing the integration.
Keep this page open so that you can copy the template ID later.
Step 2: Setup the SDK in Next.js
We've created an open source sdk to help you get started quickly when using JavaScript.
Start by installing it using your favorite package manager:
npm i @generatebanners/node-sdk
yarn add @generatebanners/node-sdk
Then include and initialize the SDK where you need it:
const GenerateBanners = require('@generatebanners/node-sdk');

const client = new GenerateBanners({
    apiKey: process.env.GB_API_KEY,
    apiSecret: process.env.GB_API_SECRET,
});
You can grab the API keys on the account page, and add them to your .env file, and in the hosting provider you're using.
Step 3: Generate your images
The snippet to create an image is short thanks to the previous steps. You need to replace TEMPLATE_ID by the template ID from step 1. You should also replace the content of title_text with the variable you want to use.
const imageUrl = client.image.signedUrl({
  templateId: "TEMPLATE_ID",
  variables: {
    title_text: "My title",
  },
});
You need to use this code on the server-side to make sure the header is present when bots are crawling your page. Below is an example of how you would do it on pages that are using Next.js Incremental Static Regeneration.
We named the file [slug].js. If you've called the file another way, you will need to change all occurrences of slug in the code. You still need to replace TEMPLATE_ID with the template ID from step 1. We've also written dummy JSON instead of database or api calls when retrieving the list of posts or one post content.
You will note the following headers that are required to display an image:
twitter:cardmust be set tosummary_large_imageto display a large image.og:imagecontains the actual image.
We recommend you to also include the following open graph headers to follow the specification:
og:urlneeds to store the full url of the post. Here we supposed you have the root URL of your site stored in theNEXT_PUBLIC_URLenvironment variable.og:typeis most often set towebsiteor toarticlewhen the page is a blog post. Find all types on the open graph specification.og:titleis the title of the page.og:descriptionis the description of the page.
You can now use our free open graph debugger to preview how your site will look when shared on social networks.

© 2026 Thibpat Consulting. All rights reserved.